When you click Publish, your site will become visible on the World Wide Web.
Click design to start adding content.
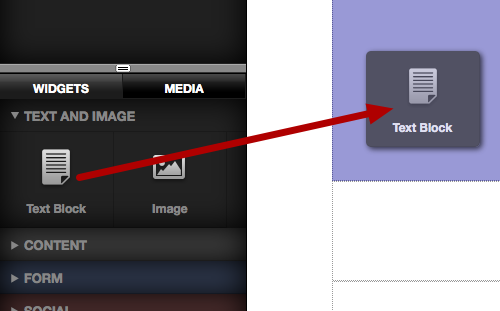
Drag a text block widget onto the page
Click the settings icon to edit the text
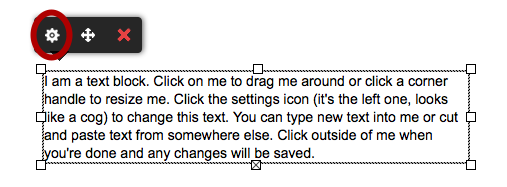
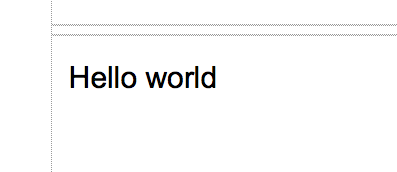
Click in the text (1) to select it.
Type some text into the field. You can copy and paste text too but for now just type something simple.

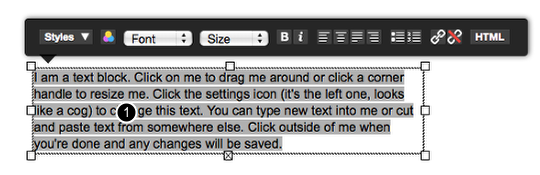
Select the text.

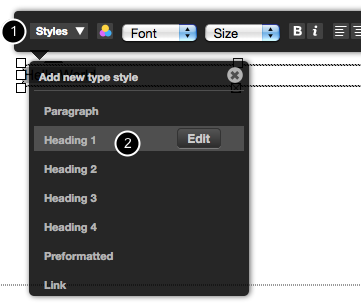
Click the Styles drop down (1) and then click the Heading 1 style (2)
To finish editing, click anywhere on the page outside of the text block.
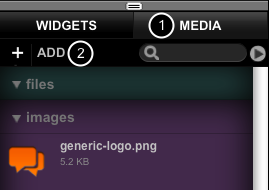
Click the media tab (1) and then click add image (2)
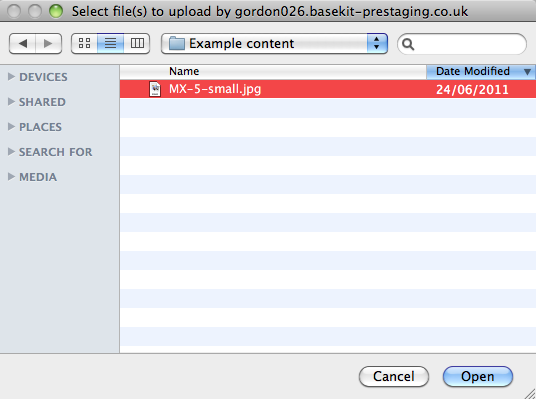
Select a JPG or PNG file to upload
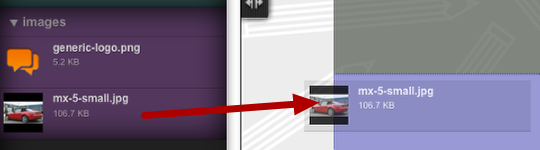
After a few seconds, the image will appear in the image listing.
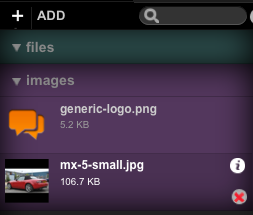
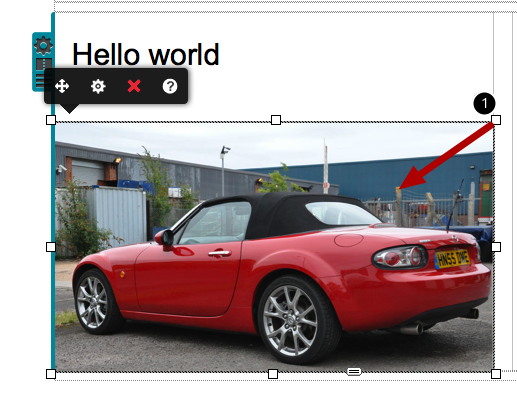
After a few seconds, the image will appear in the image panel. Drag the image onto the page.
Drag any corner handle (1) to scale the image. Click and drag on the image to move it.
The next step is to customise the appearance of your site. See Getting started: Customising your site
© Copyright TLD Registrar Solutions 2024. All Rights Reserved. www.tldregistrarsolutions.com.
