Add forms to your site and have the captured form data sent to you by email or stored online for downloading later. You can also set the results/confirmation page after the form is submitted.
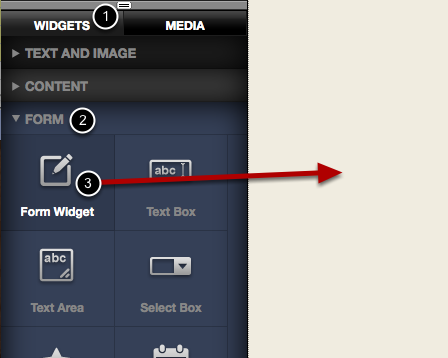
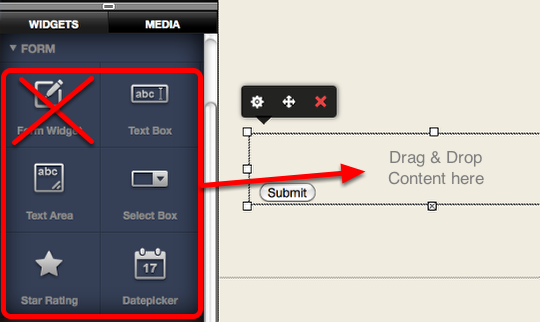
Click the widgets tab (1) and scroll down to the Form section (2). Drag the form widget (3) onto your page.
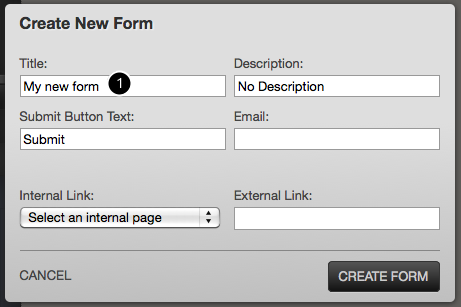
Give your form a unique name (1) - it's important to not have two forms with the same name as this may cause problems with data capture.
Click the Create Form button to continue.
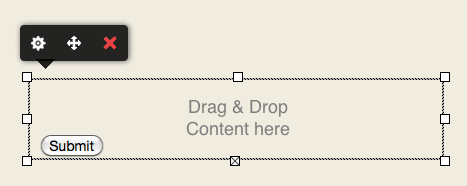
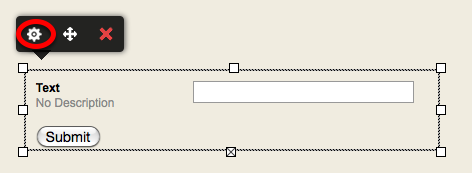
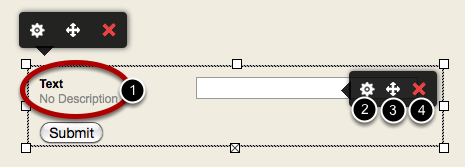
Click and type over the labels (1) to change the labels
Click the settings button (2) to set form validation and other options
Use the field drag icon (3) to move the field within the form widget
Click the delete button (4) to remove the field
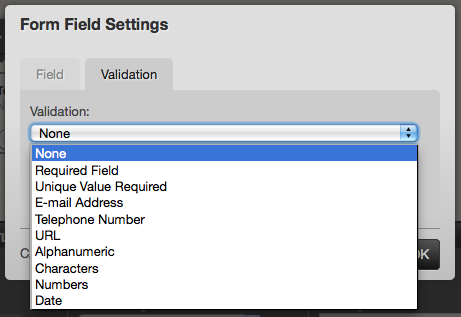
Click the field settings button (see previous step) and the select the validation tab. Choose the kind of validation and a custom error message.
Bring up the form settings panel by clicking the edit button on the form (See step 5)
The form actions settings determine what happens when the the form Submit button is clicked. Typically, clicking the Submit button will take the user to a Confirmation or Thank you page. All these settings are optional and your form will work without them.
To link to a page within the current site, select a page from the Internal Link menu (7). To link to page on a different site enter the full URL (including http://www) in the External Link field (4). To have the form data sent to an email address use the Email field (5)
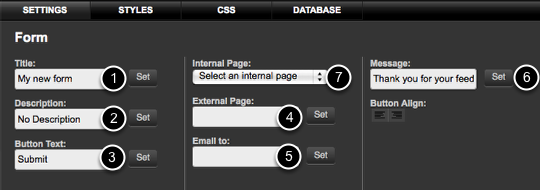
Title (1) and Description (2) fields are optional. It's good practice to give a form a meaningful title and description.
Button Text (3) is the label that will appear on the button that submits the form.
Internal page (7) / External Page (4) is the results page the user will see after clicking the submit button.
Email To (5) is the email address form data will be mailed to.
Message (6) is the message displayed after the user has clicked the submit button.
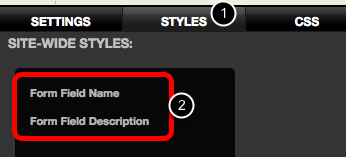
Click the form Styles tab (1) and then select the form element you wish to edit (2).
To test a form see How do I test a form?
© Copyright TLD Registrar Solutions 2026. All Rights Reserved. www.tldregistrarsolutions.com.
