Create a new type style to define the appearance of one or more text blocks.
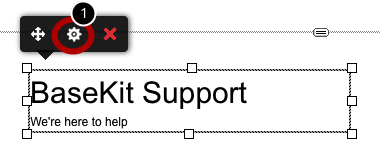
Select or create a text block.
Click the edit icon (1) to open the text block for editing
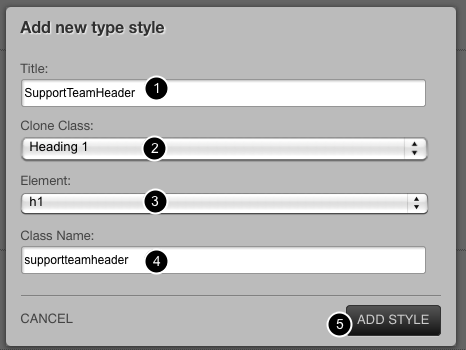
Click the Styles drop down (1) and then click Add new type style (2)

Give your style a unique title (1). Select a clone class (2). If you are creating a style for use as a heading, select one of the heading styles (Heading 1, Heading 2 etc). If you are creating a style to be used as a paragraph style select 'p'.
Element (3) and Class name (4) should not normally need to be changed. Unless you understand enough about CSS to know what these terms mean, you should leave them alone.
Click Add style (5) to create the style.
Your new type style will be added to the list. You may have to scroll down (1) to see it.
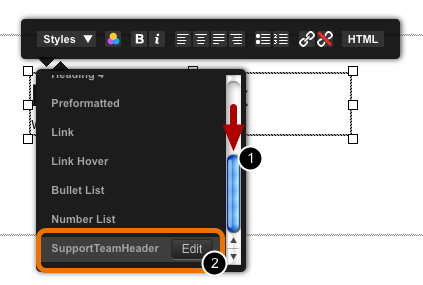
Click the edit button (2) to edit the style.
Click the custom tab (1)
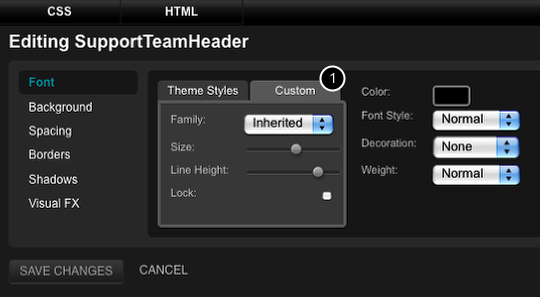
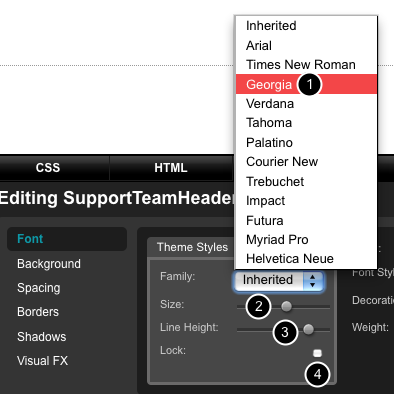
Choose a typeface (1), size (2) and line height (3). Click the lock (4) to lock the relationship between size and line height.
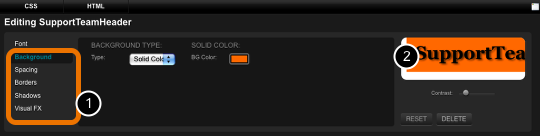
Use the options on the left (1) to change the appearance of the style. You can preview the change on the right (2).
If you use the Shadows and VIsual FX options (1) your type style may not display correctly in older browsers like Internet Explorer 6 & 7. This is an inherent limitation of obsolete browser technology.

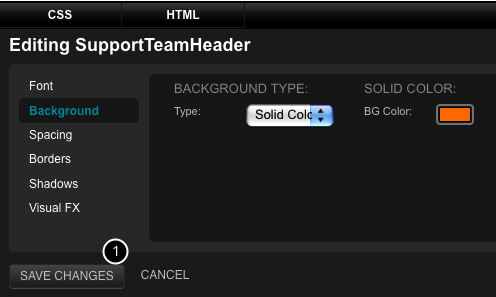
Click the save changes button (1) when you finished editing.
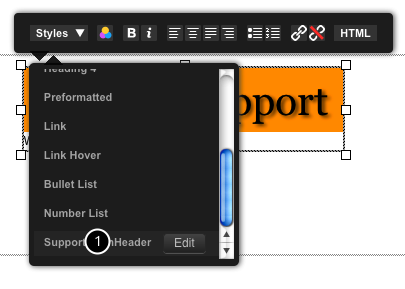
To apply the style, select some text and click on the style name (1)
The new style is now applied and can be used anywhere on your site.

© Copyright TLD Registrar Solutions 2026. All Rights Reserved. www.tldregistrarsolutions.com.
